Layer properties area
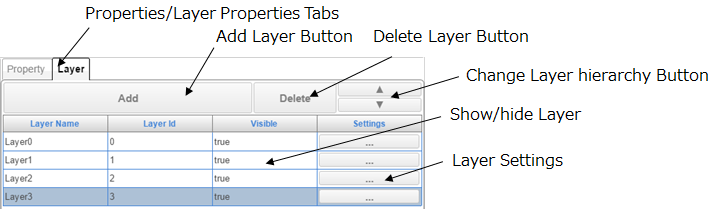
The Layer Properties area allows you to add and delete layers and to configure the layer properties.
The layer selected here can also be edited and selected in the Layer area.
■ Add layer button
Click this button to add a new layer. The settings for the new layer are copied from the settings of the selected layer.
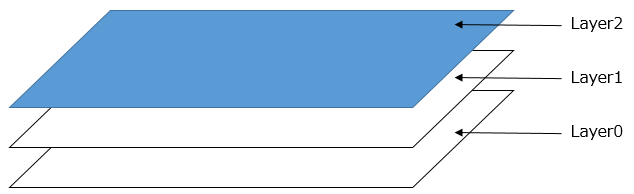
As shown in the following diagram, a new layer is placed on top of the existing layers when a layer is added, and the top layer will be shown in the web browser.
■ Delete layer button
Click this button to delete the selected layer.
■ Change layer hierarchy button
Click this button to change the order of the selected layers in the list (the layer to be shown in the upper or lower position in the list).
■ Properties/Layer properties tabs
Use these tabs to switch between the Properties area and the Layer Properties area.
■ Show/hide layer
Click this item to show or hide the selected layer.
■ Layer settings
Click this item to display the properties window for the selected layer.
The details of the properties window are as follows.
1. General settings
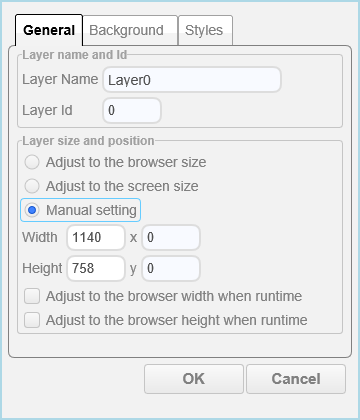
This tab allows you to configure the name and size of the layer.
□ Layer Name
This option sets the name of the layer. The name set here is displayed as the title when the layer style is set to Dialog.
□ Layer Id
This option sets a unique ID to identify the layer. You cannot use an ID that is already used by another layer.
□ Layer size and position
The layer size can be specified with the following methods.
・ Adjust to the browser size
・ Adjust to the screen size
・ Manual setting
If the option is set to a value other than Manual setting, the layer size is automatically adjusted to the size of the environment where the project is running.
When a position is specified, if that position is larger than the width or height of the web browser or if it is less than 0, the layer will be automatically adjusted to fit in the web browser.
The unit is pixels (px).
□ Adjust to the browser width when runtime
□ Adjust to the browser height when runtime
These options can only be selected when Manual setting has been selected for the layer size.
When these settings are enabled, the size of the layer and components is automatically adjusted to the width and height of the browser at Viewer runtime.
2. Background settings
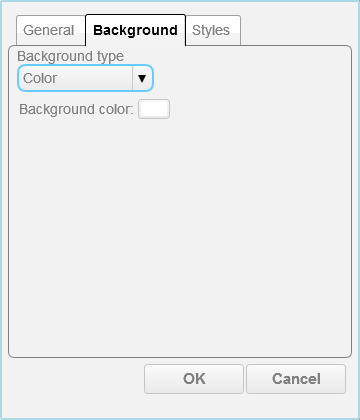
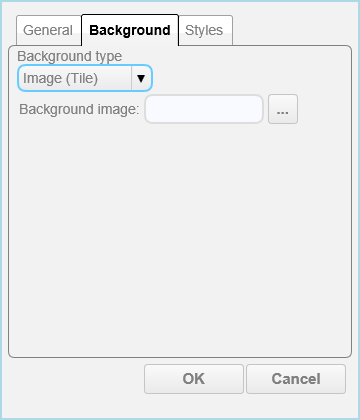
This tab allows you to configure the background type, color, and the image that will be used for the background.
□ Background type
This option sets the type of background from the following.
・ Color
・ Image (Enlarge)
・ Image (Tile)
If Color is selected, the background color can be selected.
For the other options, the image that will be used for the background can be selected.
3. Style settings
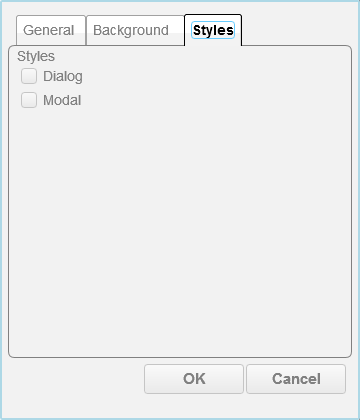
This tab allows you to configure the layer style.
□ Dialog
This option sets the layer to dialog style. In dialog style, the layer title is displayed at the top of the layer and the position of the layer can be changed by dragging the title.
□ Modal
This option sets the layer to modal style. In modal style, layers with a lower priority than the layer set to this option cannot be controlled.